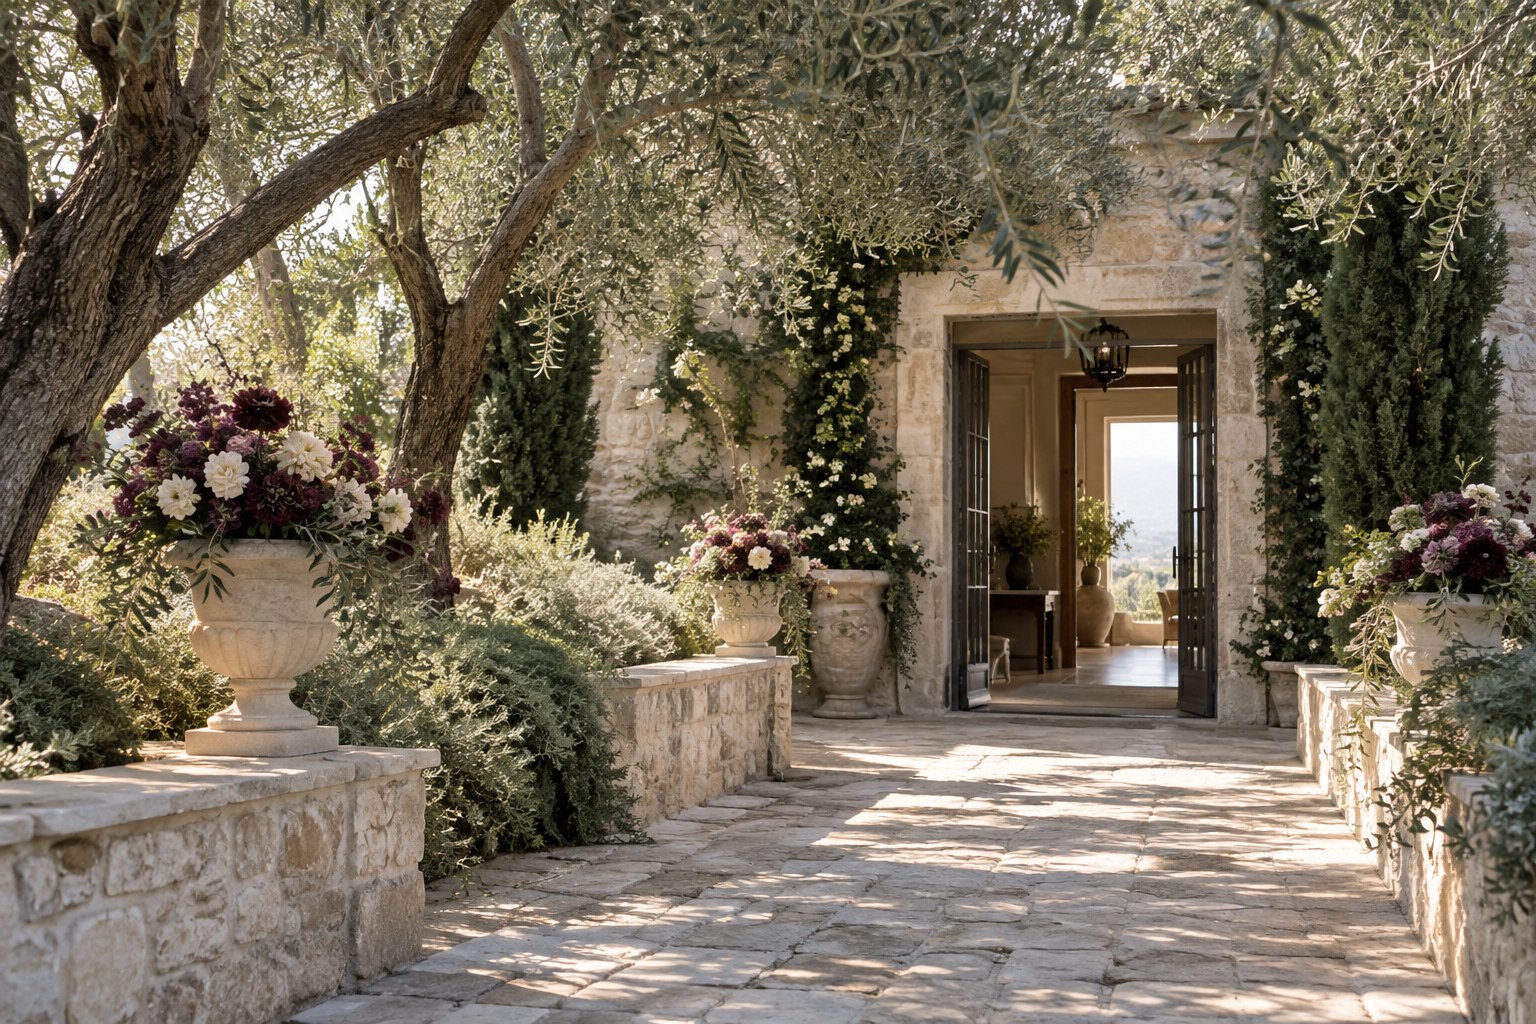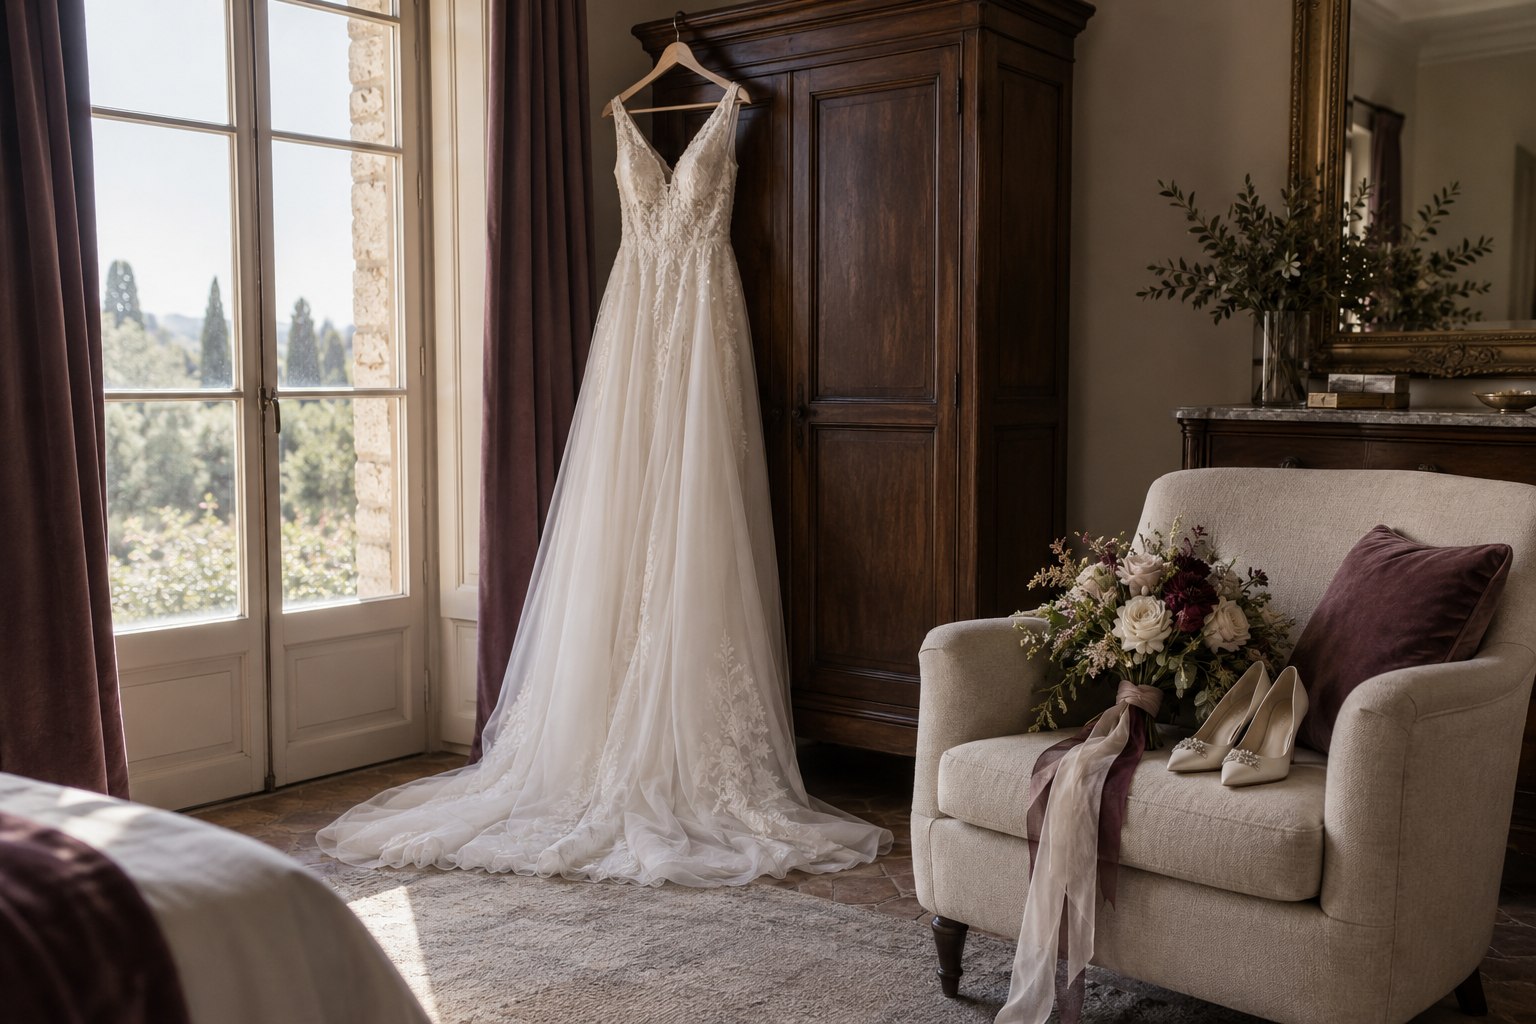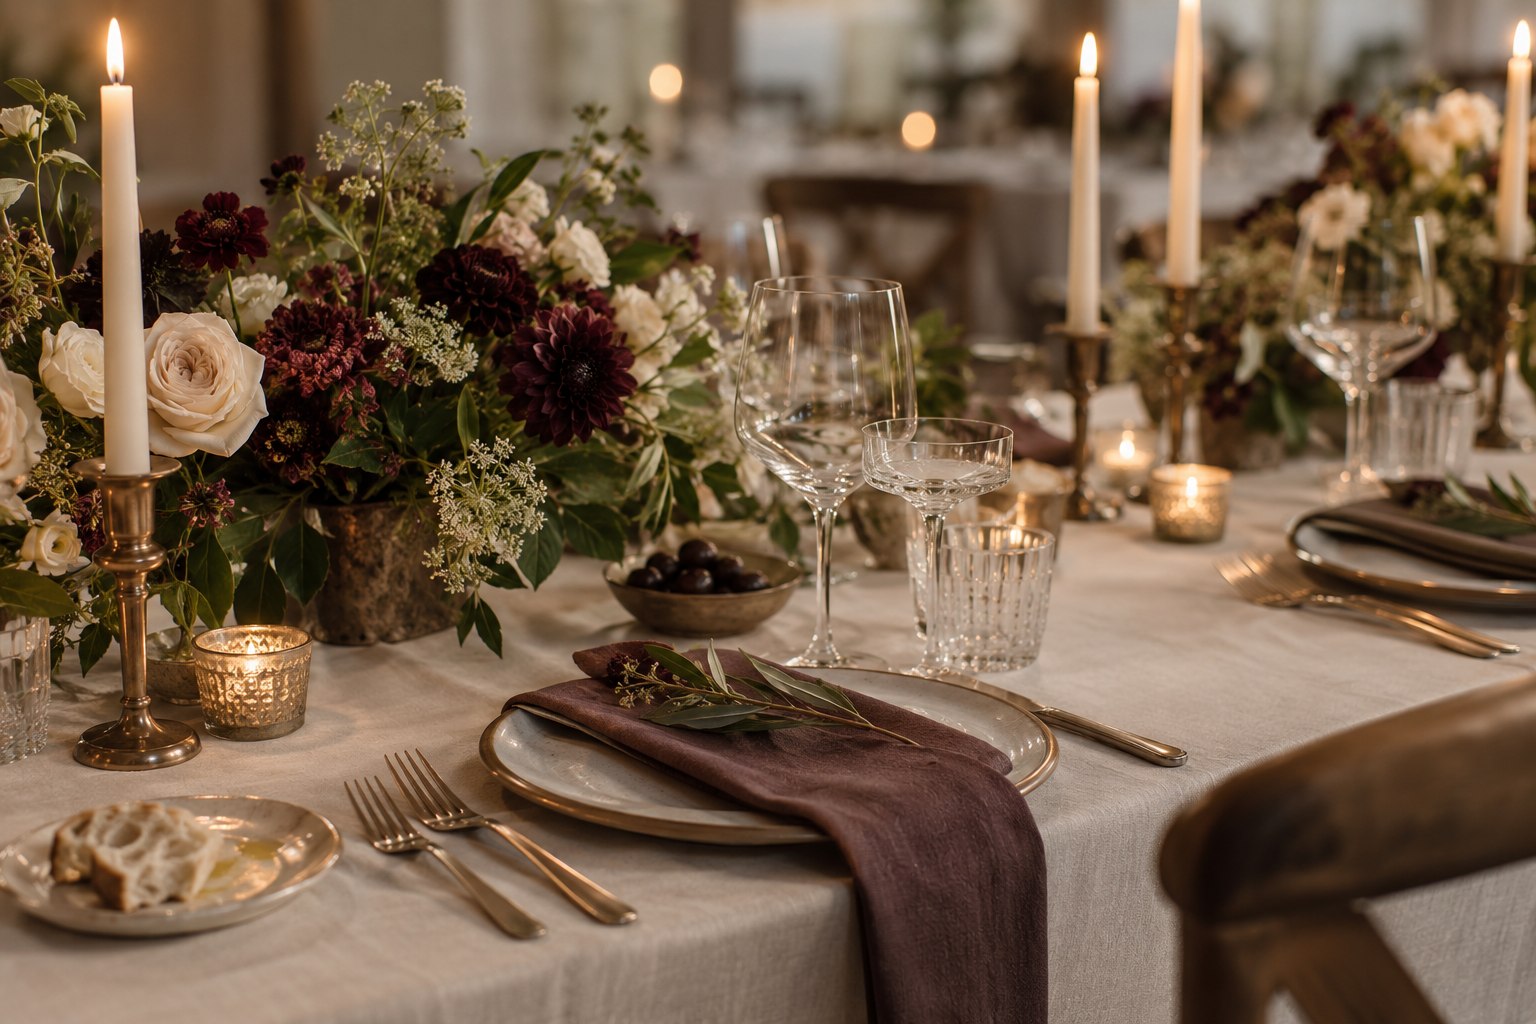
A memorable wedding table does not need to be full. It needs to make dinner feel good. Guests should be able to find their seats, set down a glass, see the people across from them and enjoy the meal without moving a collection of decorative objects. The most useful design question is not “What else can we add?” but “What will this feel like once everyone sits down?”
Begin with the room, the menu and the furniture you actually have. Those three things shape the table more than a color palette does. A narrow communal table serving shared platters has different needs from a round table with plated courses. Build the design around the way dinner will happen, then add flowers, paper and candlelight with a clear purpose.
Start with a full-size place setting
Lay out one setting on a table of the same width as your rental. Include the real plate size, glassware, cutlery, napkin and anything the caterer will place before guests arrive. Sit down and move your elbows naturally. Then add the centerpiece and test what remains. A flat-lay photograph can hide the fact that the bread plate occupies the only comfortable place for someone’s hand.
Ask the caterer which items must stay on the table throughout the meal. Water bottles, shared dishes, condiments and service utensils all need space. If the menu changes, revisit the layout. Do not order decorative chargers simply because they appeared in the original mood board. Removing one layer can improve both the budget and the experience without making the table feel unfinished.
Choose a palette from the room outward
Look at flooring, curtains, wall colors and the venue’s existing chairs. These features will appear in photographs whether or not they match your inspiration board. Choose a main neutral and one or two colors that sit comfortably beside them. Deep plum may feel rich against white linen; blue glass might suit a light-filled room. There is no requirement for every flower, menu and napkin to match exactly.
Use texture to create variety within a restrained palette. A matte ceramic plate, crisp napkin and small reflective detail can feel layered without introducing five more colors. If you rent linens, ask to see swatches under the venue’s lighting. A shade that looks soft on a screen may appear yellow or gray in the room. Approve the physical combination when practical.
Let flowers support the conversation
Consider sightlines before selecting centerpiece height. Guests should not spend dinner leaning around a dense arrangement to speak. Low flowers can work well, while taller designs need a structure that leaves the line of sight open. Ask the florist to explain the finished dimensions, not just show an inspirational photograph. Include candles, table numbers and glassware in that conversation because they share the same space.
Seasonal availability varies by location and growing conditions. Give your florist a color direction and overall shape, then discuss substitutions that preserve the feeling. If a particular flower has personal meaning, identify it early and ask about realistic options. Avoid building the entire design around an image that depends on flowers your supplier cannot confidently source at the time of your wedding.
Plan candlelight with the venue first
Before buying candleholders, ask which types of flame are allowed and whether there are enclosure requirements. Some venues restrict open flames or permit only battery-operated candles. The venue and suppliers should confirm the arrangement for the actual room. A picture of exposed taper candles is not permission to use them in your setting, especially near fabric, foliage or busy service routes.
Where battery candles are the workable option, test their color and brightness with your flowers. A few convincing lights at a consistent warmth can look better than many mismatched ones. Check who switches them on and replaces batteries if necessary. For general background on candle hazards, the U.S. Fire Administration’s candle safety information is a sensible starting point; venue-specific rules still come first.
Make paper details readable
Table numbers need to help guests find the right place from a short distance. A tiny number in pale ink may look delicate but create a cluster of people leaning over tables. Use enough contrast and a size that works in evening light. Place names should be legible too, especially when several guests share a first name. Confirm spellings against the final attendance list.
Menus can be individual, shared or omitted if the meal is explained another way. If you print them, ask the caterer to approve the wording after the menu is finalized. Avoid promising ingredients that may change. Dietary identification should be clear to servers without turning a guest’s needs into a public label. Discuss discreet markers with the catering team rather than improvising them yourself.
Build a seating plan around relationships
Seat people where they can have a pleasant conversation, not simply where the chart looks symmetrical. Consider existing friendships, shared interests, language and family dynamics. Ask discreetly before separating partners or placing someone in a situation that may be uncomfortable. A table of people who already know one another is not a failure of creativity; familiarity can make the evening more relaxed.
Work with actual table capacities and chair sizes. Squeezing in one more place can make an entire table uncomfortable. Leave room for mobility needs and ask the venue how service aisles will be maintained. If a guest needs a particular position, record that in the setup notes rather than relying on memory. Keep the displayed seating chart and the caterer’s list synchronized.
Spend where guests will notice the difference
Comfortable chairs, enough space and pleasant lighting often matter more during dinner than a decorative object at every place. Decide which visual detail carries the design, then reduce spending on competing details. You might choose beautiful napkins and modest flowers, or a strong floral feature with simple rented plates. A deliberate edit looks more coherent than a table containing every attractive item you encountered.
Compare total costs rather than unit prices. Linen hire may involve delivery, collection, cleaning and replacement terms. DIY pieces require materials, transport, storage and labor. Ask who installs each element and when the room is available. If a friend offers to help, give them a specific task and a realistic time window. Friendship should not become an unspoken full-day styling contract.
Photograph the sample and write the setup notes
Once the sample works, photograph it from above and from a seated position. Write a short inventory for each table: linen, places, centerpiece, number and any other pieces. Note the position of special meals or access accommodations separately for the people who need that information. One approved reference is more useful than a folder of slightly different inspiration images.
Allow the setup team to make small practical adjustments when the room is dressed. The final table does not have to reproduce every centimeter of your sample to feel right. What matters is that guests can settle in comfortably and enjoy one another. Continue with our intimate reception guide to connect the table design with the meal, speeches and evening atmosphere.
Check the table after dark
If dinner is in the evening, judge the design in evening light. Glass, metal and glossy paper reflect differently once daylight fades. Ask whether guests can still read the menu and see the food comfortably. Decorative candlelight may need support from the room’s main lighting; the aim is atmosphere without making people work to identify their place setting.
Ask who controls the lights during dinner and speeches. Record the agreed settings if the venue offers adjustable lighting, and let the photographer know about the plan. A small lighting decision can affect the entire room more than an extra centerpiece.
Pack the approved sample pieces together and label the box clearly so the setup team can find its reference immediately.